While I have beautiful natural light in my house, which was one of the reasons we bought it, for the purposes of product photography I've been finding that relying on the natural light just isn't enough. Seeing as I'm at work during the majority of the daylight hours during the week, that leaves me limited to taking pictures on the weekend, and which window I set up by depends on what time of day it is. For that reason, I decided it was time to make a light tent so that I can take consistent pictures, no matter what time of day (or night).
There's a lot of light boxes/tents that you can buy, but if you're on a budget, they're also pretty simple to make at home. I looked up a variety of tutorials, lots of which involved constructing a
frame using PVC piping, or
cutting up a sturdy box, then using white fabric or tissue to diffuse the light. With these tutorials in mind, I developed my own plan for a simple (and inexpensive) light tent.
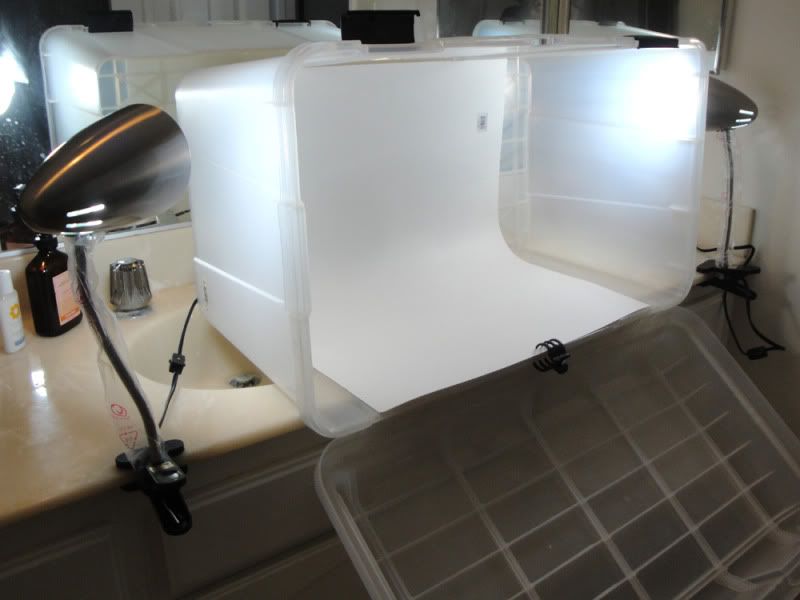
I opted to use a frosted white plastic storage container that I already had, therefore there was no construction involved (and less chance of me chopping off a finger by accident!) The lamps are clip desk lamps that I found at Bed Bath & Beyond on sale for $5 each. They only had 2 left in stock, so I am planning to go get a third to provide downward light some time this week. The card stock was purchased at the Dollar Tree - 2 sheets for $1. The most expensive individual cost was the bulbs for the lamps as I bought a set of energy efficient "daylight" bulbs to give light as close to a clean white as possible. Total cost? Just under $20.
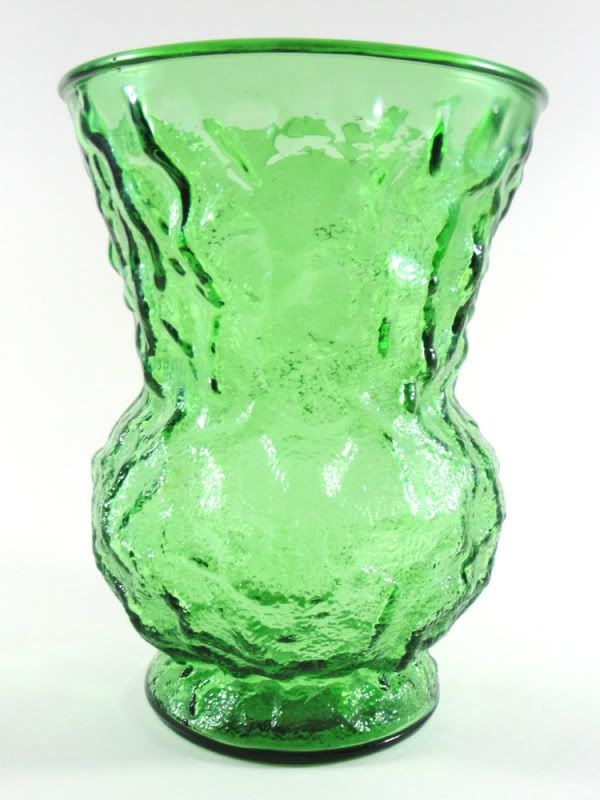
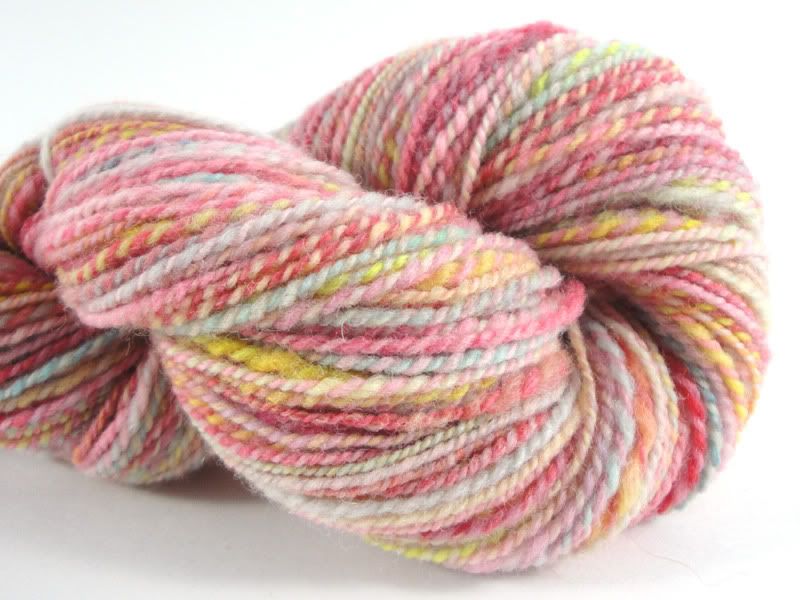
For a test run, and using my point and shoot on automatic settings (but without the flash), I decided to take some test shots. I'm already pretty happy with how these turned out and I know that once I have the third lamp shining downward, and I start using my DSLR (on a tripod), I'll be able to produce some really nice shots with a minimal amount of editing required, if any!

Awesome!
ReplyDeleteYou're fancy.
ReplyDeleteVery cool!
ReplyDelete