
Upon coming across a box containing a couple of sweaters that I had purchased for the purpose of unraveling, and admittedly forgotten about, I wanted to share some guidelines.
First thing's first - how do you pick a good sweater? The most important thing to be aware of is the seams.
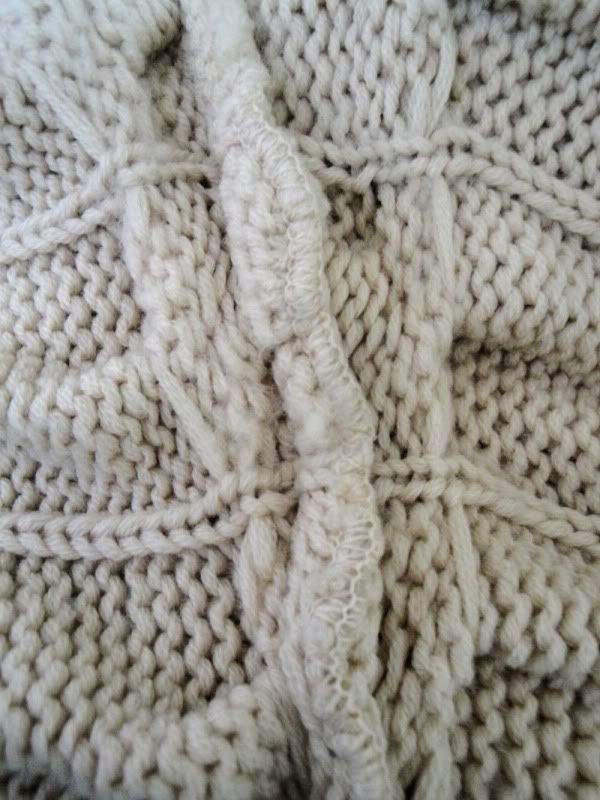 | 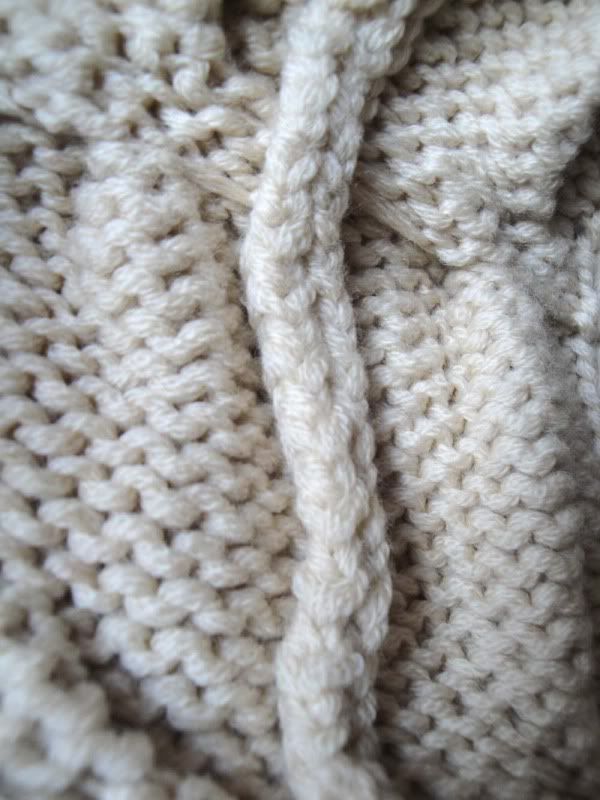 |
The sweater that I used for this tutorial was a women's XL hoodie and actually had both good and bad seams. The bad seams, however, were only at the shoulders so I was only going to lose a little bit of yarn during the unraveling process.
 Another factor that I like to keep in mind is that the larger the sweater, the more yarn it will yield. I highly suggest checking out men's sweaters too, because if you can score a men's XL in a nice fiber, you'll have a ton of yarn!
You should also carefully inspect the sweater for holes (in particular anything that looks like moth damage), stains, pilling, felted sections, etc.
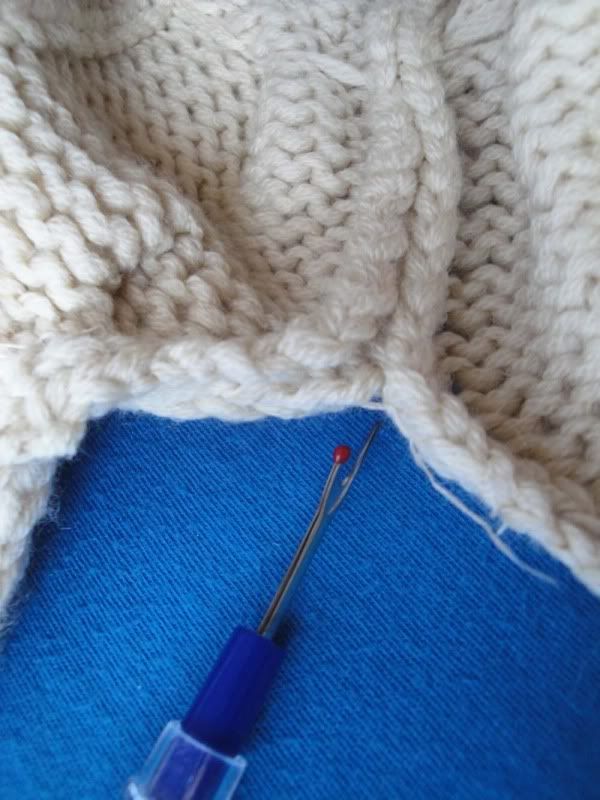
To start unraveling, you'll want to separate the seams for the sweater. I usually start by separating the long side seams, then take off the sleeves, and moving up to the shoulders. Starting at the bottom on one side, you should carefully locate and cut the thread that's holding the two seams together. The very bottom is always the most fiddly in my opinion, seeing as that's where the yarn tails would also be woven in. If you're lucky, once you've cut the thread, you'll find that it was a crocheted seam and pulling on it will unravel easily along the seam. I often use scissors but also find that having a seam ripper on hand, for the more delicate cuts, is helpful.
Having separated all the seams, you can now start unraveling the yarn - and this is the fun part! Most sweaters that I've found start unraveling at the top. So, find where the yarn starts and just start pulling. I tend to wind by hand into a ball, but you can also use a swift, ball winder, niddy noddy or whatever you find most convenient.
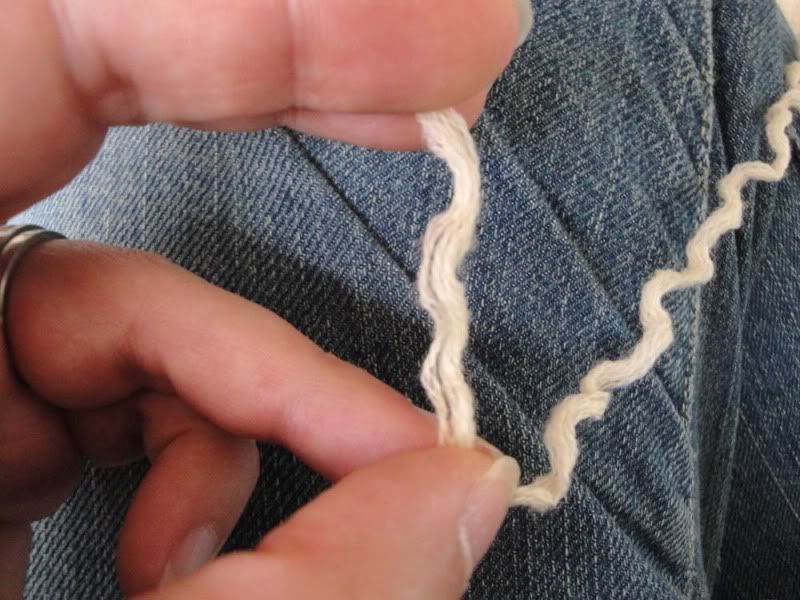
One thing I have found with commercial sweater yarns is that what looks like a worsted weight yarn is actually a collection of thinner yarns plied together. As you can see here, this yarn was actually made up of about 8 strands of thinner yarn. This makes no difference in terms of how you knit with it. On occasion, I've gone nuts with my drop spindle and re-plied the threads back together or, if the sweater has produced very lightweight yarn, I've plied to create a denser yarn to my liking.
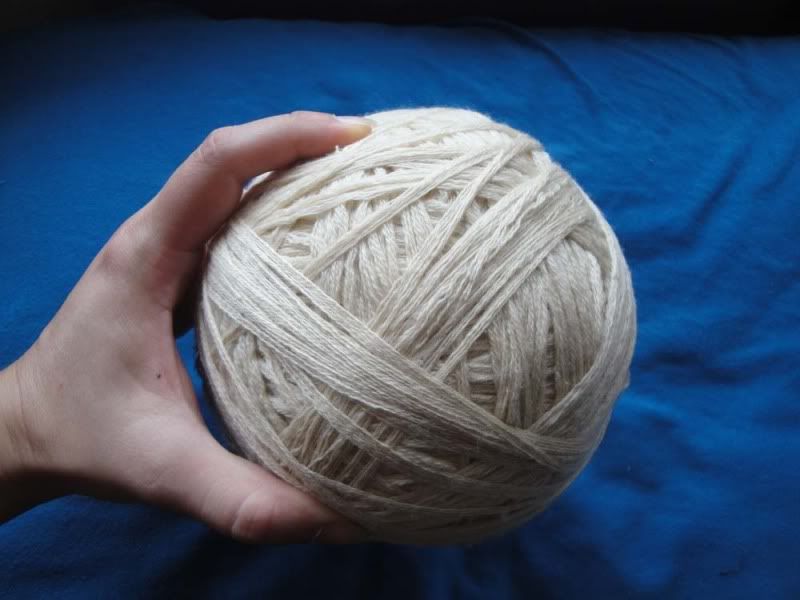
After a while, you end up with this. I made this gigantic yarn ball from the front of the sweater, which came apart in one single length of yarn. The beauty of it being that I still have the back and the sleeves to do!
To finish off the processing of your yarn, you will now need to wash it and "unkink" the yarn. To wash it, it needs to be wound into hanks. You don't want to wash it in the ball because it's best to clean all of the yarn evenly. I usually soak the yarn in warm water with soap. If the yarn is dirty, I'll do a couple of rinses to make sure the water is clear, but remember not to agitate the yarn as this may cause it to felt. Once the yarn has been washed, it can then be hung to dry. Some suggest putting a weight on the yarn to help stretch out the kinks, but I've found that this isn't necessary and prefer not to do it because I don't want the yarn to lose the elasticity and the kinks really make no difference to knitting with the yarn.
Of course, there's nothing wrong with just buying cute sweaters at thrift stores with the intent to wear them as they are, but once you start looking at them with the purpose of unraveling, you may never look at sweater seams the same way ever again.
Great tutorial!
ReplyDeleteThat's way cool! It's something I've thought about before but never done. Good tip on the seam examination.
ReplyDeleteIt really is all about the seams. I love watching the whole thing unravel and it's a great way to play with some interesting fiber blends.
ReplyDeleteThanks for this, I'm going to be on the lookout in thrift shops for sweaters to unravel!
ReplyDelete