For any of you who ever go to Big Lots, you probably know that you can find some very random things. Most recently, I found some fabric charm packs on sale for $3. I grabbed a couple, although wishing now that I'd purchased more - as with any overstock type store, you can never guarantee that the item will be there if you return at a later date.
I decided to dive right in using a simple quilt pattern to showcase the charm pack. It's coming together quite quickly, so I'll have more to show for it soon. My only problem is that I enjoy making the patchwork tops, but don't love the quilting part (seeing as I already have another quilt top waiting to be quilted in the closet).
Do any of you quilters have that issue...or any suggestions on how to get over the quilting hump?
Showing posts with label sewing. Show all posts
Thursday, September 13, 2012
Tuesday, September 11, 2012
Daily Craft - Crate covers
Finally got myself organized, so here's to my other recent sewing project. You know those stackable plastic crates that you can get at office supply stores? They're great for storage, but not all too pretty. I happened across this tutorial on Pinterest on how to sew covers for said crates and knew that it would be perfect to make some cute storage for the nursery.

I used crates that I bought several years ago at Target ($2.50 a piece I believe). They'd been storing some random crap in my closet from a while back, and I cleared out the junk when we got ready for the carpeting. [Note the pretty new carpet by the way - we're really happy with it.]
I found both the striped fabric, and the fabric used for the interior of the crate in the clearance section at Joann. Fabric cost was under $10 and enough to make covers for 2 crates, with plenty left over. Total cost ended up being about $15 for the pair, which I consider quite a steal for customized storage. Plus, they only took about an hour to make.
I'm loving that I can use these for safe, low level storage of books or toys. I also love that the covers are easily washable, which from what I hear is important when babies and toddlers are involved. :)
Seeing as there are several more of these crates around the house that are storing various things, I kind of want to cover them all so that they can be displayed more prominently!
I used crates that I bought several years ago at Target ($2.50 a piece I believe). They'd been storing some random crap in my closet from a while back, and I cleared out the junk when we got ready for the carpeting. [Note the pretty new carpet by the way - we're really happy with it.]
I found both the striped fabric, and the fabric used for the interior of the crate in the clearance section at Joann. Fabric cost was under $10 and enough to make covers for 2 crates, with plenty left over. Total cost ended up being about $15 for the pair, which I consider quite a steal for customized storage. Plus, they only took about an hour to make.
I'm loving that I can use these for safe, low level storage of books or toys. I also love that the covers are easily washable, which from what I hear is important when babies and toddlers are involved. :)
Seeing as there are several more of these crates around the house that are storing various things, I kind of want to cover them all so that they can be displayed more prominently!
Wednesday, September 5, 2012
Daily Craft - Planes, trucks and stuff
I started off with sewing this panel that I bought on sale at Joann's. I'd never really looked at the panels before, but this has changed my mind. It was $6 and I loved the patchwork & applique....it makes it look like I did something much fancier than I did! It's also got a nice variety of textures between the flannel, minky and felt on the front. In the end, I just sewed some snuggly minky fabric (which I'd also purchased on sale and was already in my stash) on the back and called it a day. Total cost? Approx $10. Super cute and cost effective? I consider that a win!
![]() |
![]() |
[Sorry these aren't the best pictures, but my preggo self didn't feel like walking down and then back up 2 flights of stairs to get my other camera.]
Next post...some crate covers thanks to a tutorial found on Pinterest!
Wednesday, February 22, 2012
Daily Craft - Needle rolls
I like rolls in general - sushi rolls, bread rolls, jelly rolls. When it comes to storage for knitting needles and crochet hooks, sewing up a storage roll seems like the obvious choice. I already have one for my crochet hooks and, after losing my double-pointed knitting needle set, needed to make one for my replacements. I used some left over fabric from this quilt, and set about making a roll to hold all 15 sets of DPNs. That's 75 needles! I didn't really follow a pattern - more eyeballed it using various concepts for needle rolls that I've seen online in various places.
I actually really like how this turned out. I enjoy the fabrics together and my biggest complaint would be that I misjudged the width of the pocket needed for the largest (size 15) needles. It ended up being 8" tall by 11.5" wide, so it's also not too bulky when folded. In that I did slightly misjudge the pocket width, I'm now debating making another one with the proper size pockets for my DPNs and using this roll for my set of circulars. Do I have too many knitting needles? Quite possibly...but I need them for sample knitting (or at least that's my excuse!)
I suspect that sewing rolls of this sort could end up being an addiction. Next thing you know I'll be creating them for make-up, toiletries, jewelry, and who knows what else. To all you yarnies out there, how do you store your needles/hooks?
Wednesday, August 24, 2011
Daily Tutorial - Disappearing 9 patch quilt block
I'm not an expert quilter by any means, and the way I've been learning usually involves scouring the internet for tutorials that explain how I'm supposed to do things. Sometimes I find what I'm looking for, sometimes I don't. I was inspired, however, to see if I'm competent enough to create my own tutorials to help out the less experienced quilters (like myself) who may be on that internet search!
I did have a disappearing 9 patch block in mind when I bought the fabrics mentioned in my previous post. I came across this block by accident but thought it was cute. I believe it's also know as "9 to 4" because it starts life as a 9 patch, and ends up as 4 blocks. I decided that I was going to use 5" squares for this, although you could make them bigger or smaller according to preference.
Now that I have all my blocks sewn and cut, the next job for me is to arrange them all for the quilt top. I picked this design because I enjoyed the slightly random nature of how the blocks can be put together, but I do struggle with the compulsion to make everything perfectly symmetrical and balanced. So, I'm going to try and throw caution to the wind and not over-analyze the block placement! Hopefully I'll have a finished quilt top to show you shortly...
I did have a disappearing 9 patch block in mind when I bought the fabrics mentioned in my previous post. I came across this block by accident but thought it was cute. I believe it's also know as "9 to 4" because it starts life as a 9 patch, and ends up as 4 blocks. I decided that I was going to use 5" squares for this, although you could make them bigger or smaller according to preference.
| Step 1: Create the 9 patch Choose your 9 squares to make into the 9 patch. I have 5 corresponding fabrics, although there is no reason why you can't make this super scrappy and use completely different fabrics for each square. For contrast, I've alternated the darker and lighter fabrics. | |
| Step 2: Sew together I started off by pairing the squares in the left column with the one next to them in the center column, right sides together. I like to chain piece, which means I feed each pair through the sewing machine without breaking the thread. Having sewn the first three pairs, I then opened them up and stacked the squares from the right column with each corresponding pair and repeated this again. This results in 3 strips of 3 squares. | |
| Step 3: Press and pin It's now necessary to make a quick trip to the ironing board to press the seams. The seams should be pressed in the direction of the darker fabric so that they don't show through. The other helpful thing is that the seams end up pressed in opposite directions so that you can "lock" them together and match where the seams meet. (This was probably the most helpful tip that I found after my very first patchwork attempt where my seams didn't match at all!) | |
| Step 4: Pin and sew Now that you have your strips pinned so that the seams match neatly, sew the 3 strips together, right sides facing to create your 9 patch. Head back to the ironing board to press your seams and you should have a nice square. | |
| Step 5: Cut the 9 patch into 4 Now the fun begins! The plan is to cut your 9 patch into 4 blocks by cutting down the middle in both directions. I've read that you can fold the 9 patch in half and finger press (i.e. run your fingers along the fabric to create a seam), then cut along that seam. I decided to line everything up using the lines on my cutting mat to determine the center in each direction. | |
| Step 6: Rearrange! What you should have now is 4 blocks that you can rotate and rearrange how you wish. As you can see, the basic 9 patch when cut this way will give you a variety of interesting options, also making it look far more complicated than it was to create. :) |
Now that I have all my blocks sewn and cut, the next job for me is to arrange them all for the quilt top. I picked this design because I enjoyed the slightly random nature of how the blocks can be put together, but I do struggle with the compulsion to make everything perfectly symmetrical and balanced. So, I'm going to try and throw caution to the wind and not over-analyze the block placement! Hopefully I'll have a finished quilt top to show you shortly...
Wednesday, March 16, 2011
Daily Craft - Crochet hook roll
I have a handful of fabric fat quarters hanging about the house and, as much as I'm enjoying making quilted coasters, figured I'd like to try something new. Over the years, I've misplaced quite a few of my crochet hooks along with the roll that they were in, so decided to make a new one. This was a great use for the small-ish fabric pieces, and I just love how the two fabrics look together. I checked out a variety of tutorials, and made this one using a hybrid of several. The only thing I did know is that I didn't want the stitching for the inside slots to show on the outside of the roll, as I think it's just neater.
I'll hopefully have a minute to put together a detailed tutorial for you all soon, as I suspect I'll be making another of these to hold my make-up brushes. Talk about multi-functional!
What do you look for in a storage case for crochet hooks, knitting needles (or make-up brushes as the case may be)?
I'll hopefully have a minute to put together a detailed tutorial for you all soon, as I suspect I'll be making another of these to hold my make-up brushes. Talk about multi-functional!
What do you look for in a storage case for crochet hooks, knitting needles (or make-up brushes as the case may be)?
Thursday, January 6, 2011
Daily Craft - A rainbow of thread
A while back, I entered a contest on the Recycle, Reuse, Refashion blog. The blog author, Josée, was kind enough to be offering up some sewing notions that she'd scored at a thrift shop. I'm rather partial to thrift shop hauls myself, so was thrilled to find out that I was the lucky winner! My package arrived today, all the way from Canada, and I'm now happy to be in possession of a many spools of thread in a myriad of different colors, as well as some bias tape, and ribbon.
Deuce photobombed my picture (no surprises there) and tried several times to steal ribbons, while attempting to distract me by batting away spools of thread.
I'm also happy to be participating in a destash swap on Craftster.org, which involves filling a small flat rate box with supplies I'm no longer using. I'll be receiving a package of supplies from somebody else in return. I know that destashing is on my list of things to do for the year, and I'm hoping this will be a good start, even if I'm getting things back. Seeing as I have to start going through my craft supplies for the swap, hopefully that'll steer me in the right direction for organizing and unloading in general. Besides, I figure it counts if I'm exchanging things that are just laying about for things that I will [hopefully] use, right?
Deuce photobombed my picture (no surprises there) and tried several times to steal ribbons, while attempting to distract me by batting away spools of thread.
I'm also happy to be participating in a destash swap on Craftster.org, which involves filling a small flat rate box with supplies I'm no longer using. I'll be receiving a package of supplies from somebody else in return. I know that destashing is on my list of things to do for the year, and I'm hoping this will be a good start, even if I'm getting things back. Seeing as I have to start going through my craft supplies for the swap, hopefully that'll steer me in the right direction for organizing and unloading in general. Besides, I figure it counts if I'm exchanging things that are just laying about for things that I will [hopefully] use, right?
Monday, September 13, 2010
Daily Craft - First patchwork blanket
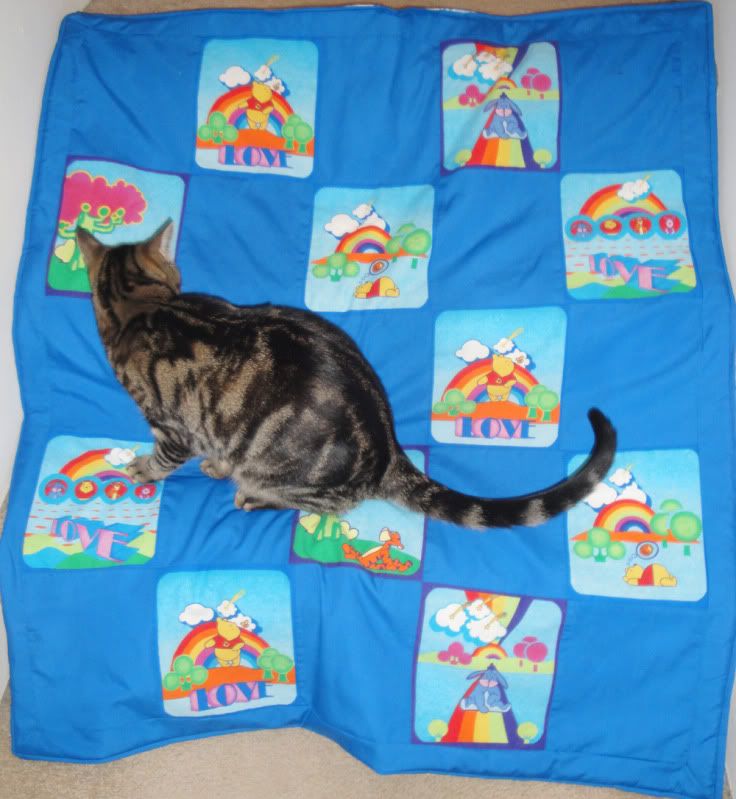
I've never made patchwork before so this was a bit of an adventure for me (read: I was totally winging it). I'm mostly happy with the way it turned out, although it's wonky in a few places, some of the corners don't match up and, based on this initial project, I'm pretty sure that batting is a pain in the butt to work with. I'm also confident that I might be in love with creating patchwork and may very well end up adding quilting to the rather extensive list of things that I want to conquer.
I'm starting to develop all kinds of ideas in my head for fun patchwork baby blankets so this may require a trip to the fabric district downtown - it's like being lost in fabric heaven down there. I'll be bringing my camera to report back to you all when I go, for sure!
Of course, Deuce had to give it his approval when I was done. So, what will I do with my slightly crooked but oh so cute first attempt? The second I finished making it, I already knew who would love it to pieces and I'm excited to be able to gift it to them when I see them next. :)
Sunday, August 29, 2010
Daily Craft - All about the right tools
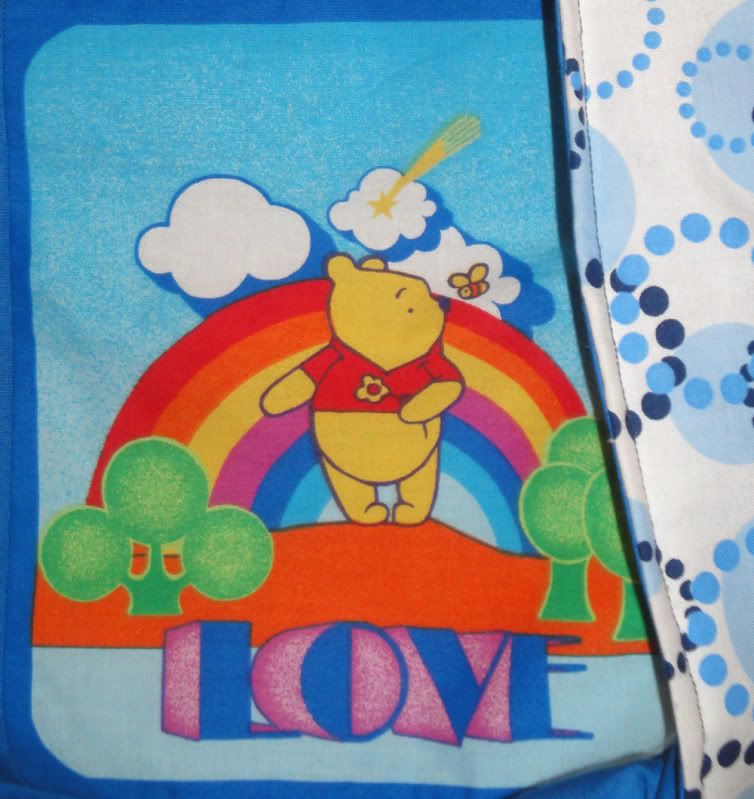
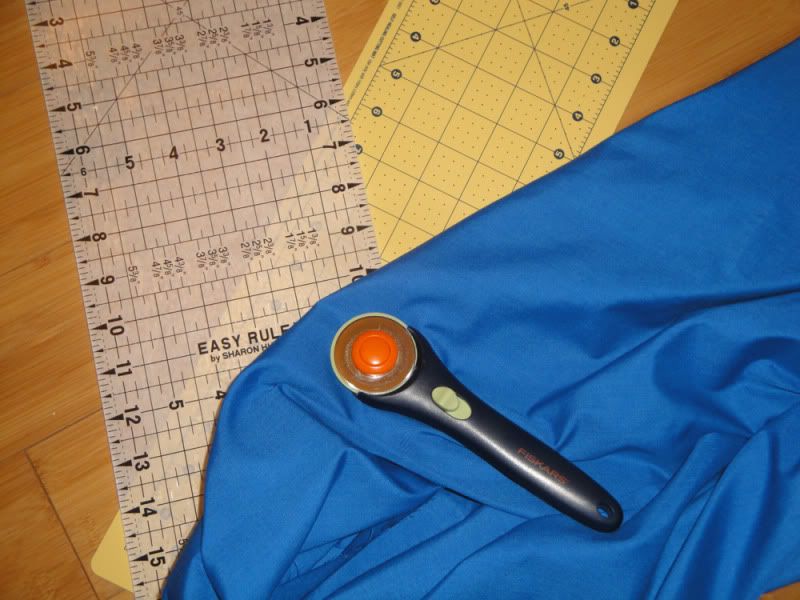
I'm in the process of making my first patchwork "quilt type thing" using some fabulous retro Winnie The Pooh fabric. I had a great idea to go get a rotary cutter and self-healing mat at the Joann sale last week and now I'm wondering why it took me so damn long to buy them! The preparation of neatly pressing and cutting everything was always the most frustrating part of the sewing process for me, seeing as it would always take 3 times as long to cut things as it did for me to sew them together. (That's the impatient, looking for instant gratification, little kid whining "but I want to make it NOW", part of me coming through).
I know I can't use this for everything but I'm loving the time saving aspect so far and Deuce seems to find enjoyment in assisting me by holding the end of the cutting ruler for me. The dangerous part of all this of course is that I'm having far too much fun making the patchwork top for the quilt. As if I need another hobby to occupy myself with...
Subscribe to:
Posts
(
Atom
)